


You are looking for help locating a leak at the dormer ridge connection. We find the source quickly and neatly. You prevent wood rot, mold, and high costs around the dormer, ridge, and roof connection.
We check ridge tiles, roof tiles, battens, lead flashing, fascia boards, underlayment membrane, and waterproofing. Using thermal imaging, a smoke test, dye, and endoscopy, we demonstrate the leak location. This also applies to EPDM and bitumen roofing.
You receive a clear report, repair advice, and photographic evidence, often without any demolition work. We are Ultrices Leak Detection with 5-5 Google reviews; read reviews about detecting dormer ridge connection leaks.
Detecting a dormer ridge connection leak explained
Detecting a leak at the dormer ridge connection revolves around precisely locating moisture penetration at the critical intersection where your dormer connects to the ridge and the main roof. The ridge is the highest line of your tiled roof, featuring ridge tiles and under-ridge tape or ridge rolls that keep water and wind out. Leaks often occur due to a fault in the waterproofing layer around under-ridge tapes, butyl or bitumen ridge rolls such as Monier's Figaroll or Koramic ventilation tapes, and in connecting materials such as lead flashing or Ubbink's Ubiflex, zinc capping, aluminium roof trim, and EPDM or bitumen upstands of the dormer. We map the exact source of the leak without demolition, allowing you to carry out targeted repairs and prevent water damage.
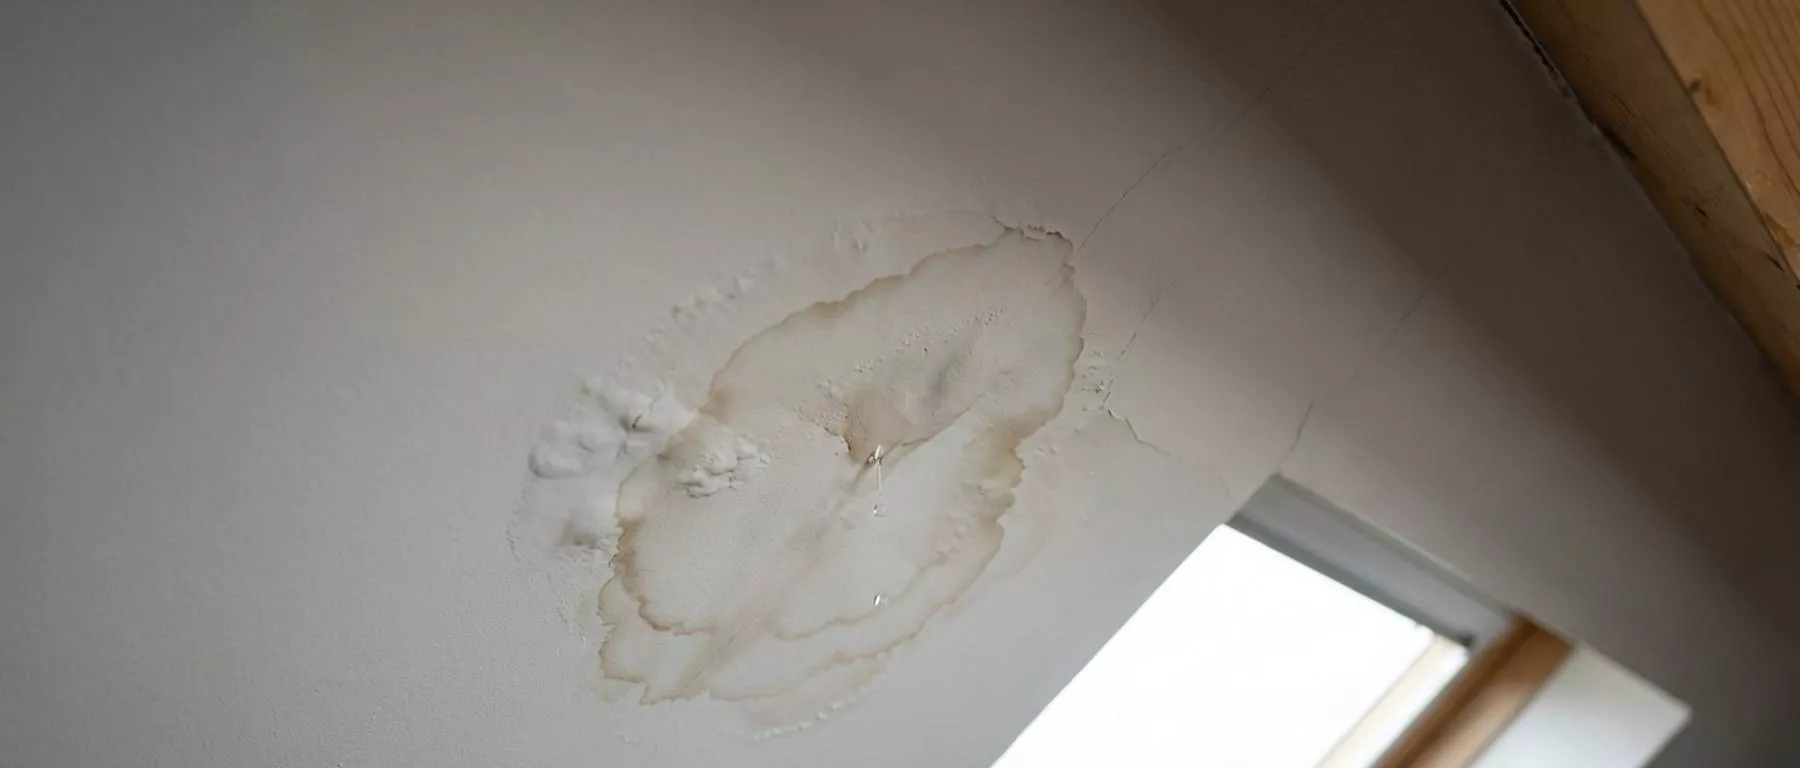
- Signs of ridge leakage: discoloration or edges on plasterboard at the top of the attic or the ceiling next to the ridge, damp insulation and musty smell
- Typical moments: leakage during driving rain or strong winds due to wind suction and pressure differences around the ridge
- Effects: damage to battens, purlins, substructure, mold formation and reduced insulation value of PIR or mineral wool
- What to look out for: loose ridge tiles, porous mortar, missing under-ridge strip and poor connection of the dormer upstand

Causes of leakage at the ridge connection of your dormer
When detecting leaks at the dormer ridge connection, we distinguish between building physics and technical causes. Capillary action can draw water under a ridge tile, while a damaged under-ridge strip or aging mortar breaches the waterproofing. A connection that is too tight or, conversely, too loose between the dormer upstand and the overlying tiles can create flow channels, causing water to be forced inwards when pressure builds up. Lead or Ubiflex that has not been cut deep enough, and EPDM that has not been sufficiently raised around the ridge, also pose a risk.
- Outdated ridge finish: cracked mortar, no ventilation ridge yet, or missing ridge roll allowing driving rain to infiltrate
- Fault in lead or lead substitute: incorrect overlaps or flashing too short along the fascia and cheeks towards the ridge
- Incorrect tile or batten detail: replacement tiles that do not fit together, missing tile hooks, and sagging battens
- Condensation and thermal bridge: vapor barrier is missing or leaking, causing internal condensation to look like a leak
Our leak detection method without demolition or breaking
We combine thermography, building physics, and measurement protocols to detect dormer ridge connection leaks without destructive work. Using a FLIR thermal imaging camera, we read temperature differences around the ridge tile under-ridge strip and dormer upstands. A controlled water test with calibrated flow control simulates driving rain. With a smoke test and slight overpressure, we visualize air and water trails along the ridge. A tracer gas analysis using forming gas hydrogen in nitrogen detects sub-millimeter leaks around EPDM or bitumen details. We perform measurements using a Protimeter moisture meter and Ridgid endoscopy for hidden spaces. Read more about our leak detection without demolition and see how we provide damage-free evidence.
- Thermography: thermal image shows cooling patterns of wet insulation and leak paths behind tiles and under the ridge
- Smoke and overpressure: smoke reveals leak traces along the ridge roller and fascia boards due to wind suction
- Dye and waterproof: harmless dye traces water path at complex ridge details and under-ridge
- Tracer gas: extremely susceptible to micro-leakage at EPDM roof trim and connections with aluminium or zinc
Types of ridge and dormer connections and risk points
Detecting leaks at a dormer ridge connection requires knowledge of systems. A closed mortar ridge behaves differently than a ventilated ridge with under-ridge tape. Prefabricated dormers with EPDM upstands require different details than bitumen or zinc roofing. Brands and components such as BMI Icopal bituminous membranes, Firestone EPDM Figaroll, Koramic ventilation tape, and NedZink sheet metal work each have specific installation guidelines and KOMO certification requirements that influence the risk of leakage.
- Ventilation lug with strap: relies on butyl or bitumen tape at the ridge roll connecting to tiles and dormer upstand
- Closed mortar ridge: mortar ages and cracks with open joints along the dormer connection as a result
- EPDM upstand against tiled roof: risk with too low upstand and insufficient rise under the ridge tile
- Zinc or aluminium trim: capillary leakage with insufficient overlap on tiles or with riveted seams
Step-by-step plan for detecting a leak at the dormer ridge connection
- Intake and analysis: we collect photos, year of construction, material types, and damage patterns, and link them to weather data and wind directions
- Visual inspection: inspection of ridge tiles, roof tiles, fascia boards, lead flashing or Ubiflex, and upstands, including the inside of the roof sheathing
- Measurements and scans: thermography, moisture measurements, endoscopy, and pressure measurements to delineate the exact leak zone
- Targeted simulation: water test, smoke test and, where necessary, tracer gas to reproducibly demonstrate the source
- Report and advice: a complete expert report with photos, thermal images, measurement data, and repair advice within three days
Leak detection process request
Recovery and Security Insurance Report
You will receive a clear expert report that insurers understand, including photolog measurements and a clear cause-and-effect analysis. We operate nationwide and, if desired, coordinate with your insurer and roofer. Our advice includes detailed drawings per connection, such as new ridge strips, correct overlap of lead or Ubiflex, and replacement of damaged tiles or battens according to recognized installation guidelines. For broader roofing problems, you can directly view our page on targeted roof leak detection so that you address the entire roof comprehensively.
Why Ultrices leak detection makes the difference
We combine fifteen years of experience with professional detection equipment and offer a no cure no pay service with a ninety-nine percent success rate. We are VCA VOL and NEN 3140 certified, work for private and business clients, and often arrive within an hour in urgent cases. Our service is nationwide and completely without any demolition or breaking work. Call or WhatsApp 085 080 55 42 or email info@Ultriceslekdetectie.nl for immediate advice. If you would like to delve deeper specifically into dormers, please view " thoroughly detecting dormer leaks" for additional cases and solutions. If you prefer immediate clarity regarding costs and scheduling, request a quote via our free quote within 24 hours so you have certainty quickly and can schedule repairs.
- Fast and transparent: on-site within one hour in case of emergency and an expert report within three days with repair advice
- Insurance security: reporting in clear language with photos and measurement data that supports coverage, with a guarantee on coverage
- Damage-free research: advanced thermography smoke and tracer gas techniques without demolition for minimal disruption
- Proven quality: five out of five according to reviews and an approach based on building physics and product guidelines from A-brands
Frequently asked questions
How do you recognize a leak at the ridge connection of your dormer, and what are the main causes?
You often notice it by rings or mold on the attic ceiling, a musty smell near the fascia board, or damp insulation around the ridge. Sometimes it only drips during strong winds or driving rain due to capillary action and wind suction. Check if ridge tiles have shifted, if there are cracks in roof tiles, and if the lead flashing or zinc around the dormer is loose.
Common causes include aging ridge mortar, missing tile hooks, a fault in waterproofing or vapor-permeable membrane, a loose batten or lath, and a leaking valley rafter next to the dormer. If the leak occurs mainly during driving rain on the facade, delve into rain penetration and facade details with this explanation on detecting rain penetration on the facade.
How do you trace a dormer ridge connection leak without hacking and breaking?
Start with a safe visual inspection of ridge tiles, roof tiles, and fascia board. Next, map the moisture profile using a Tramex or Protimeter and check for thermal bridges and condensation. Using endoscopy through a tile section, we inspect the foil and connection details without demolition.
For pinpoint detection, we use thermography with a FLIR camera, a smoke test for draft detection, a dye test for capillary routes, hydrogen nitrogen tracer gas in case of doubt, and a targeted spray test on the windward side. Ultrices Leak Detection operates nationwide and is VCA VOL and NEN 3140 certified. With 15 years of experience, professional detection equipment, a 99 percent success rate, 24-hour emergency service, on-site within 1 hour, and a no cure no pay policy, you are completely taken care of.
How much does it cost to locate a leak at the ridge connection of your dormer, and will you be reimbursed by your insurance?
The guideline price for structural leak detection at a dormer ridge connection is often between 245 and 495 euros, depending on accessibility, roof type (such as tiles or bitumen), required measurements such as thermography or a smoke test, and reporting requirements. You will receive a free quote from us within 24 hours and a comprehensive expert report within 3 days.
Building insurance policies usually cover consequential damage and often detection costs when the cause is unforeseen. Always check your policy conditions or call your insurer. We assist with evidence and coordination to maximize your chances of coverage. Read how a strong insurance report works via facade leakage insurance report.
What can you do immediately about moisture around the dormer ridge, and when is urgency required?
Place buckets, protect the ceiling, ventilate the room, and switch off the power if fixtures are wet. Remove leaves and debris around the ridge and dormer. In dry weather, you can temporarily cover the suspicious seam of the lead flashing or ridge tile with waterproof tape or a tarpaulin. Take photos and videos for your insurance.
Call for immediate assistance if dripping persists, if there is contact with electricity, if there is visible tilting after a storm, or if sheet material bulges. Ultrices Leak Detection offers 24-hour service, works with insurers, and has a 5 out of 5 star rating on Google. Is your ceiling already wet? Arrange a quick diagnosis with ceiling leak detection including a report.

